Mold on grout and caulk: where to start looking for moisture damage
@thehealthywashroom
When you notice dark spots along the edges of your shower tiles or a musty smell near the sink, the first place to check is often the grout and the caulk. These two materials are the most vulnerable surfaces in any bathroom. Grout is porous and absorbs moisture easily. Caulk, while flexible, can lose its seal over time and trap moisture underneath. Both create ideal conditions for mold growth.
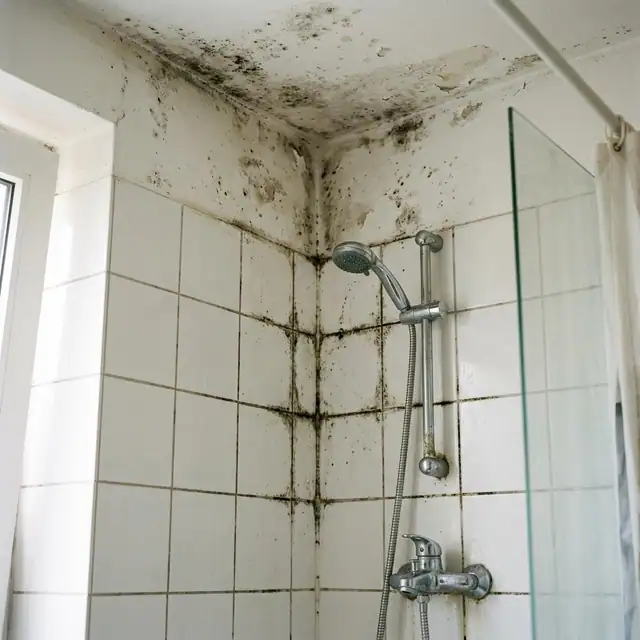
Mold on grout usually appears as small black or green specks that spread into larger patches. On caulk, the discoloration often starts along the edges where the material meets the tile or the tub. In both cases, the mold is not just a cosmetic issue. It can indicate deeper moisture problems that affect the wall behind the tile or the subfloor beneath the shower pan. Understanding what to check first helps you decide whether a simple cleaning will work or whether you need more extensive repairs.
Why grout and caulk attract mold
Grout is a cement-based mixture that hardens between tiles. It is naturally porous. Water and soap scum seep into the tiny gaps, and organic matter like skin cells and hair provides food for mold spores. Once moisture and food are present, mold grows quickly. The texture of grout makes it difficult to clean deeply. Bleach and scrubbing can remove surface mold, but the roots may remain inside the pores.
Caulk, or silicone sealant, is used at corners and joints where tiles meet other surfaces. Its job is to create a watertight seal. Over time, silicone can shrink, crack, or pull away from the substrate. When that happens, water gets behind the caulk. The space behind it stays damp because air does not circulate there. Mold thrives in that hidden, wet environment. The caulk itself may look clean on top while the mold spreads underneath, eventually pushing through as dark stains.
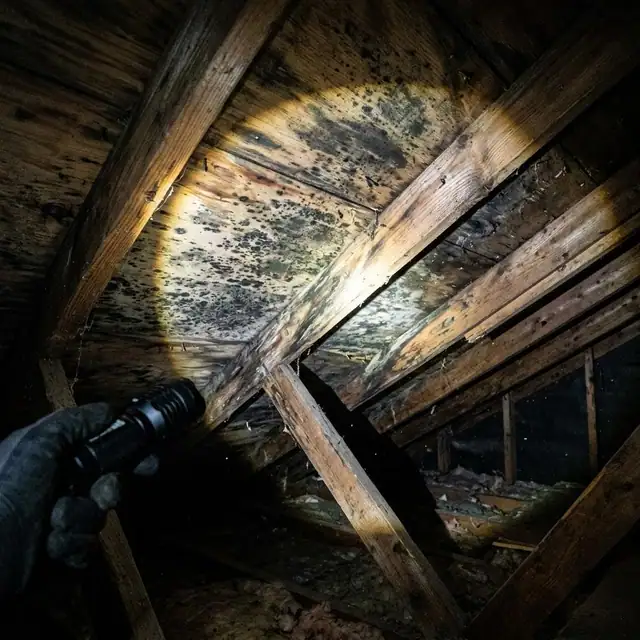
Bathrooms have high humidity and poor ventilation. Even a well-sealed shower can trap moisture if the exhaust fan is weak or the window stays closed. That environment accelerates the breakdown of grout and caulk. The result is a cycle: mold appears, you clean it, it returns, and each time the materials degrade a little more.
What to check first
Before you reach for a cleaner, look at the condition of the materials. Start with the caulk. Run your finger along the seam where the caulk meets the tile or tub. If the caulk feels soft, has visible gaps, or lifts away from the surface, it has lost its seal. Water has already gotten behind it. Cleaning the surface will not fix the problem. The caulk needs to be removed and replaced. If the caulk is still intact and firmly attached, you can focus on cleaning the surface mold.
Next, inspect the grout. Use a bright light and look closely at the lines between tiles. Grout that is crumbling, cracked, or missing entirely is a sign of deeper damage. Mold in those places is harder to remove because the grout is no longer solid. In that case, regrouting or regrouting with a denser material might be necessary. Grout that is still intact but has surface staining can often be cleaned with a mixture of baking soda and water or a commercial grout cleaner.
Pay attention to the corners and edges. These are the areas where caulk and grout meet. They are also the spots where moisture collects most easily. Look for signs of water pooling on the floor or along the base of the shower. If the floor feels spongy or the wall behind the tile feels damp, the moisture has moved beyond the surface. That situation requires professional assessment because the damage may extend into the wood frame or the subfloor.
Check the ventilation. A bathroom that stays steamy for more than fifteen minutes after a shower is a breeding ground for mold. Even if the grout and caulk are in good condition, persistent high humidity will eventually cause mold to return. An exhaust fan that vents to the outside is the most effective solution. If your fan recirculates air or does not reach the shower area, consider improving airflow or using a dehumidifier.
Finally, look at the age of the bathroom. Caulk and grout have a limited lifespan. Caulk typically needs replacement every one to three years depending on the quality of the product and the conditions. Grout can last five to ten years, but it will eventually need to be resealed or replaced. If your bathroom is older than that, the materials may be beyond cleaning.
Cleaning vs. replacement
Deciding whether to clean or replace depends on the extent of the damage. Surface mold on intact grout or caulk can often be removed with a cleaner that contains oxygen bleach or hydrogen peroxide. Avoid chlorine bleach on porous surfaces because it can damage the material and may not kill the roots. Scrub gently with a soft brush. Rinse thoroughly and dry the area. After cleaning, apply a sealer to the grout to reduce future absorption.
If the mold returns within a few weeks, the material itself is compromised. In that case, cleaning is a temporary fix. The mold will keep coming back because the moisture is trapped behind the surface. Replacement is the only way to stop the cycle. Removing old caulk requires cutting it out carefully with a utility knife or a caulk remover tool. Make sure the surface is clean and dry before applying new caulk. Use a high-quality silicone caulk that is mold-resistant. For grout, you may need to chisel out the old grout and apply new grout, then seal it.
One other factor to consider is the presence of hidden moisture. If the wall behind the tile is damp, the mold will keep growing no matter how well you clean the surface. In that case, you need to address the source of the moisture. That might mean fixing a leaky pipe, improving the shower pan seal, or repairing the waterproof membrane behind the tile. A professional inspection can identify these issues. Mold Removal Boston Pros bathroom surface mold specialists have experience diagnosing these hidden problems. They can determine whether the mold is surface-level or whether it has spread into the wall cavity.
Prevention after repair
Once you have cleaned or replaced the grout and caulk, the next step is to keep them dry. Wipe down the shower walls and floor after each use. Use a squeegee to remove excess water. Leave the shower door or curtain open to let air circulate. Run the exhaust fan for at least twenty minutes after a shower. If your bathroom has no fan, consider installing one or at least opening a window.
Check the caulk and grout regularly. Look for cracks, discoloration, or soft spots. Catch problems early before water gets behind the seal. A small crack can be sealed with a dab of caulk, but a large gap may require full replacement. Reapply grout sealer every twelve months to maintain its water resistance.
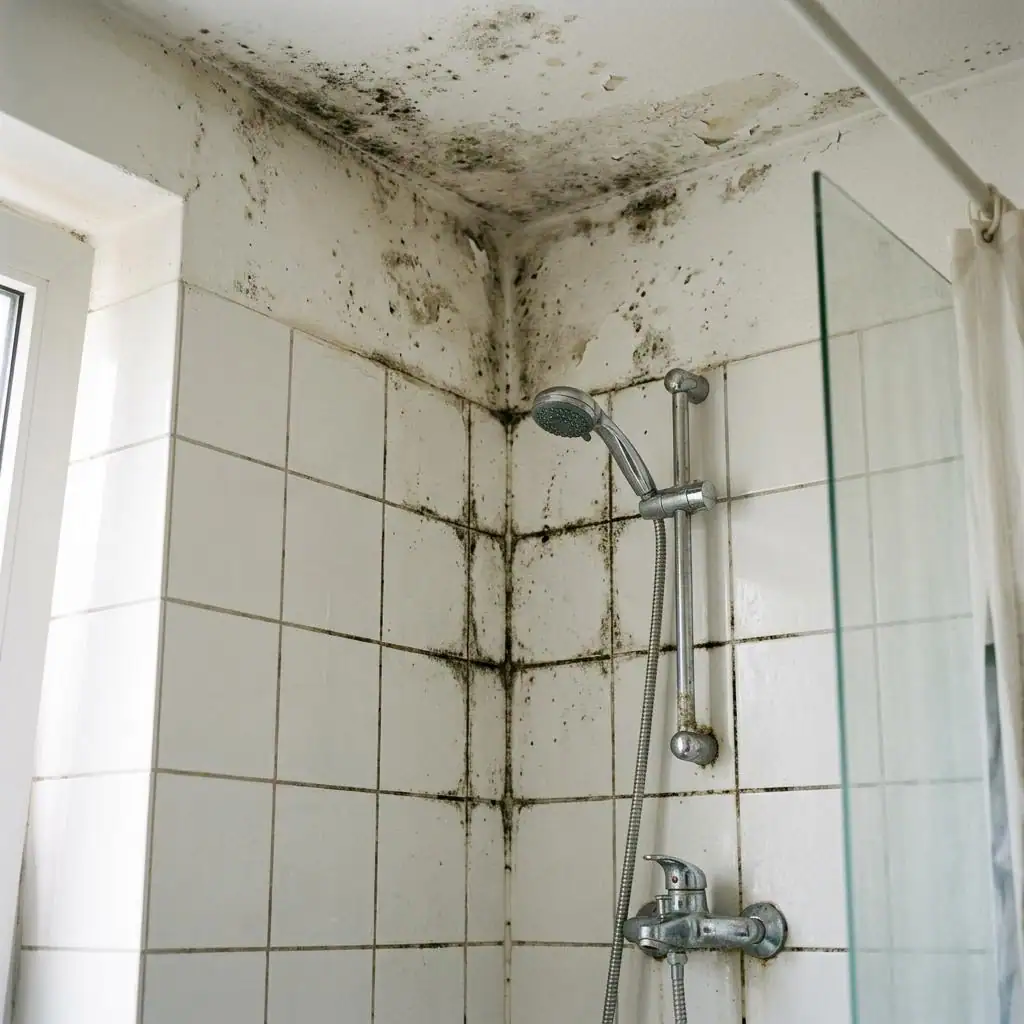
Consider the humidity level in the bathroom. A humidity meter can tell you if the room stays above sixty percent relative humidity for long periods. If it does, a dehumidifier or a better exhaust fan may help. Controlling the moisture in the air reduces the load on the grout and caulk and slows the growth of mold.
Mold on grout and caulk is a common problem, but it does not have to be a recurring one. By checking the condition of the materials first, you can decide whether a simple cleaning is enough or whether replacement is necessary. In cases where hidden moisture is involved, professional help is the safest route. Mold Removal Boston Pros bathroom surface mold experts can assess the full scope of the issue and recommend the right course of action. Taking the time to inspect and maintain these small but critical parts of your bathroom saves you from bigger repairs later.